
Crochet Baby Toy - Noise Makers


One of Munchkin's favourite toys was this Pram Necklace from Littlephant that we bought her for her first Christmas. She adored the colours and the textures of the toy hanging over her pram. And apparently, it tasted delicious too!
But as she's gotten older it has fallen out of favour, she's now showing a preference for toys that make a noise or that we build towers out of and she knocks down. So I decided to make her a toy. One that combined the tactile nature of the Littlephant pram necklace along with a rattle and shake!
The fact that they're also round and can roll a little way from her is also a good thing as we're trying to encourage Munchkin to move. At present, she'll just happily play with whatever she can reach or make big eyes and pout until her father gets the toy she accidentally just launched.

These are what I came up with. They use the plastic insert from a Kinder Surprise filled with various noisy items. For these I used whatever was handy in my kitchen cupboard. Popcorn kernels, quinoa, rock salt and sunflower seeds were put in the shakers and they were closed and taped up. Each has a very distinct sound in comparison to the others.

I then added some decorative embroidery with contrasting cotton. Stitching in and out of the holes between the crochet stitches. This has two benefits, it makes the cotton wadding surrounding the Kinder insert pretty much impossible to pry out by tiny fingers and it looks pretty!
I used some of my remaining cotton wadding from a quilt I made recently, rather than normal cushion stuffing, because it's nice and firm, making it hard for little fingers to get out and it makes crocheting the Kinder insert into the ball much easier as you're less likely to get your hook caught up in tons of little fibres.

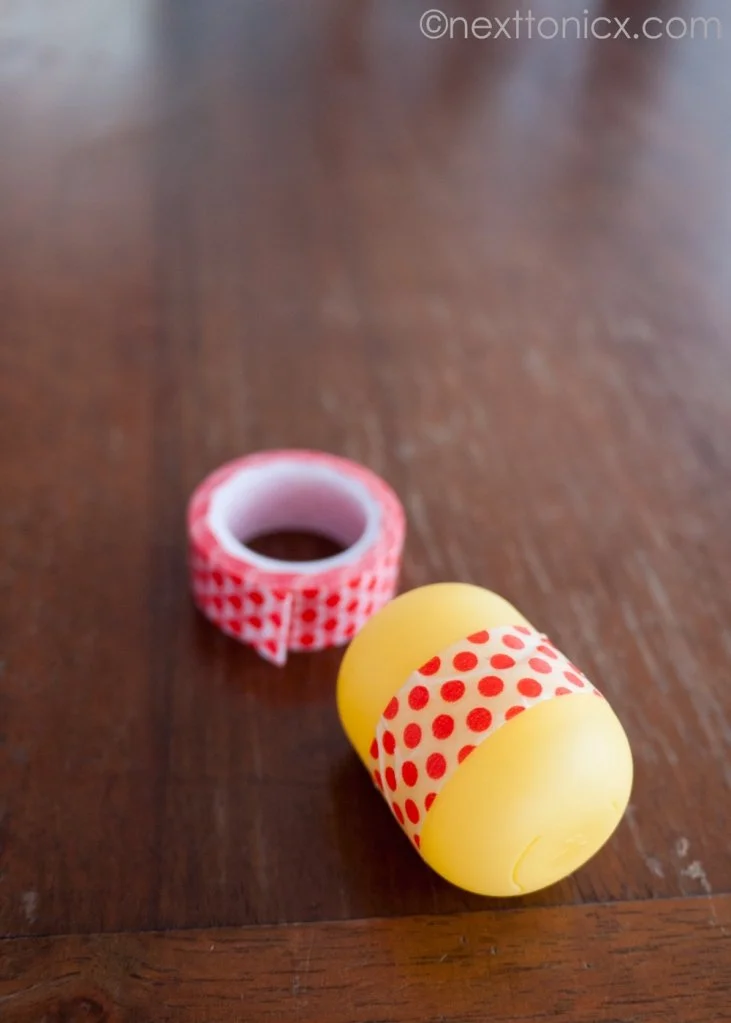
To start with, I put a small amount of my selected seed into the Kinder insert. I taped it up to make sure that it didn't come open inside the toy and spill its contents. Mainly because this would stop it from making a lovely rattle noise and as yet another safety precaution.
Crochet Baby Noise Maker Pattern:
Stitches you need to know:
Single Crochet = sc
Increase (2 single crochet in the same stitch) = inc
Decrease (single crochet decrease) = dec
Materials
Cotton yarn in at least two colours
3.5mm crochet hook
Cotton wadding
Plastic container insert from a Kinder Surprise or alternate small plastic container (the ones in the vending machines that kids love and parents loathe would probably work well for this project too)
Seeds, Grains etc
Row 1: Create a Magic Ring and sc 6. Pull magic ring closed and place a marker at end of row. Move stitch marker at end of every row following.
Row 2: inc 6. (12)
Row 3: *sc 1, inc 1.* Repeat *to* 6 times. (18)
Row 4: *sc 2, inc 1.* Repeat *to* 6 times. (24)
Row 5: *sc 3, inc 1.* Repeat *to* 6 times. (30)
Row 6: *sc 4, inc 1.* Repeat *to* 6 times. (36)
Row 7: *sc 5, inc 1.* Repeat *to* 6 times. (42)
Rows 8 to 12: sc 42. (42)
Row 13: *sc 5, dec 1.* (36)
Row 14: *sc 4, dec 1.* (30)
Row 15: *sc 3, dec 1.* (24)
At this point, I placed a piece of wadding into the bowl of the ball. Wrapped the shaker egg in wadding and pushed it in. I then used my crochet hook to stuff more wadding in until I had a nice full ball. Then placed another piece of wadding over the top of the shaker, tucked it in nice and firmly and continued crocheting the Noise Maker closed.
Row 16: *sc 2, dec 1.* (18)
Row 17: *sc 1, dec 1.* (12)
Row 18: dec 6 (6)
Row 19: dec 3 (3)
Finish off and sew in the ends. I did this by taking a large needle and pulling the cotton through to the other side of the egg, in between the shaker egg and the wadding, and then cutting off the remainder. This left the ends well out of reach of those cheeky inquisitive fingers.
I did the same thing with the ends of the embroidery I added.
To add the embroidery, merely fasten on, and sew in and out in the spaces between the crochet stitches.

Depending on how much wadding you add and how firmly you pull your embroidery stitches, you'll either end up with a nice round ball shape (lots of wadding, stitches reasonably loose) or an oval shape (less wadding, firmer stitches). I did two of both as the ball shape are a little too large for Munchkin to hold easily at present, but the oval shape is perfect! And they don't roll away so easily, encouraging her to move in small increments.
My templates and tutorials are for personal use only. Commercial use is strictly prohibited.